
ALL ABOUT THE TAPE MEASURE
Top 5 Tips, Tricks + Types
In honor of National Tape Measure Day (July 14), we’re sharing our top five tips, tricks and types. It’s believed that the first ruler was invented around 2650 B.C. using marked strips of leather, but the modern spring measuring tape was patented by Alvin J. Fellows in 1869. In 1922, Hiram A. Farrand developed the concave-convex tape which has become the standard for most pocket tape measures and is probably the one you’ll find in your tool box. While this style is most common, tape measures come in a variety of styles and sizes, and should be used for different purposes.
Five Types of Tape Measures
KEYCHAIN
Handy in a pinch. These keychains typically come in 3ft, 6ft, and 10ft. They take up very little space in your bag and you never know when you might have the opportunity to take a quick measurement. This can go a long way during an initial walk-through.
DOUBLE-SIDED
This is a great feature for measuring glass panels, around corners, or under shelves. Being able to read the dimensions on either side of the tape is a win-win and a great way to utilize the otherwise blank space on the back of the tape.
MAGNETIC &/OR HOOK END
A hook at the end of the tape can easily replace a second pair of hands needed to measure something that ends with a recessed edge. On the other hand, a magnetic end can assist when measuring in between beams or other magnetic receptive materials.
LASER DISTANCE MEASURER
These magical handheld devices can assist greatly when trying to measure any large space. Whether it is glass windows surrounding a two-story atrium or the floor of a massive event space. These laser beams can measure up to about 650 feet and within 300 feet can be accurate down to 1/8 of an inch.
QUICK-READ / CHEATERS
For those of us who haven’t quite memorized the fractional line markings, we highly recommend finding a measuring tape with “quick-read” fractional callouts. We should all be able to note a 1/2 inch or a 1/4 inch, but when you get into 16th’s you’ll be very happy that you invested in a tape that saves you time.
Bonus: Along with fractional callouts a lot of “quick-read” tapes will give you foot/inch callouts so depending on how you note your surveys you can see a panel is 52-1/2 inches or 4 foot - 4-1/2 inches at a glance. They may also have markings every 16 inches which tends to be the standard horizontal distance between wall studs in the U.S.

Five Tape Measure Tips + Tricks
DON’T LOSE YOUR SPOT
Keep sticky notes or painter’s tape close by when measuring long distances. Even if you think your 25 footer will do the job, your eyes can deceive you! Roll out as much of the tape as you can and as soon as you get to the 24 foot mark, place a sticky note or piece of tape on the ground/wall/whatever. Use a fine tip pencil or pen to mark this end location and slowly reel your tape back in. Now, start measuring from the other end of the wall/ground/whatever and meet back up to your pen mark. Add the numbers together and you’re good to go!
MEASURE “UP” A WALL
Secure the hook at the end of the tape against the wall with your foot. Feed more and more tape up the wall while keeping the tension. When the bend in the tape meets the ceiling, there’s your measurement. It always helps to have the tallest person take this measurement so they can read the numbers. Otherwise, there’s always the zoom on your camera or phone.
YES, THE HOOK IS SUPPOSED TO “WIGGLE”
Ever catch yourself playing with the give on a measuring tape hook? Ever crash that hook while retracting it back into the housing? Guess what? It wiggles for a reason! So really, try not to crash it from now on…
The reason: It wiggles on its rivets to make up for the hook's own thickness.
Push that hook against something for an internal measurement, and the fraction of space the hook takes up is included in your reading; hook it on the end of a piece for an external measurement, and the resulting gap equals the space the hook would take up.
Bonus: If you don’t want to risk that fractional hook addition/subtraction, start your measurement at the 1 inch marker and remember to subtract that inch from your final measurement.
BIGGER IS NOT ALWAYS BETTER
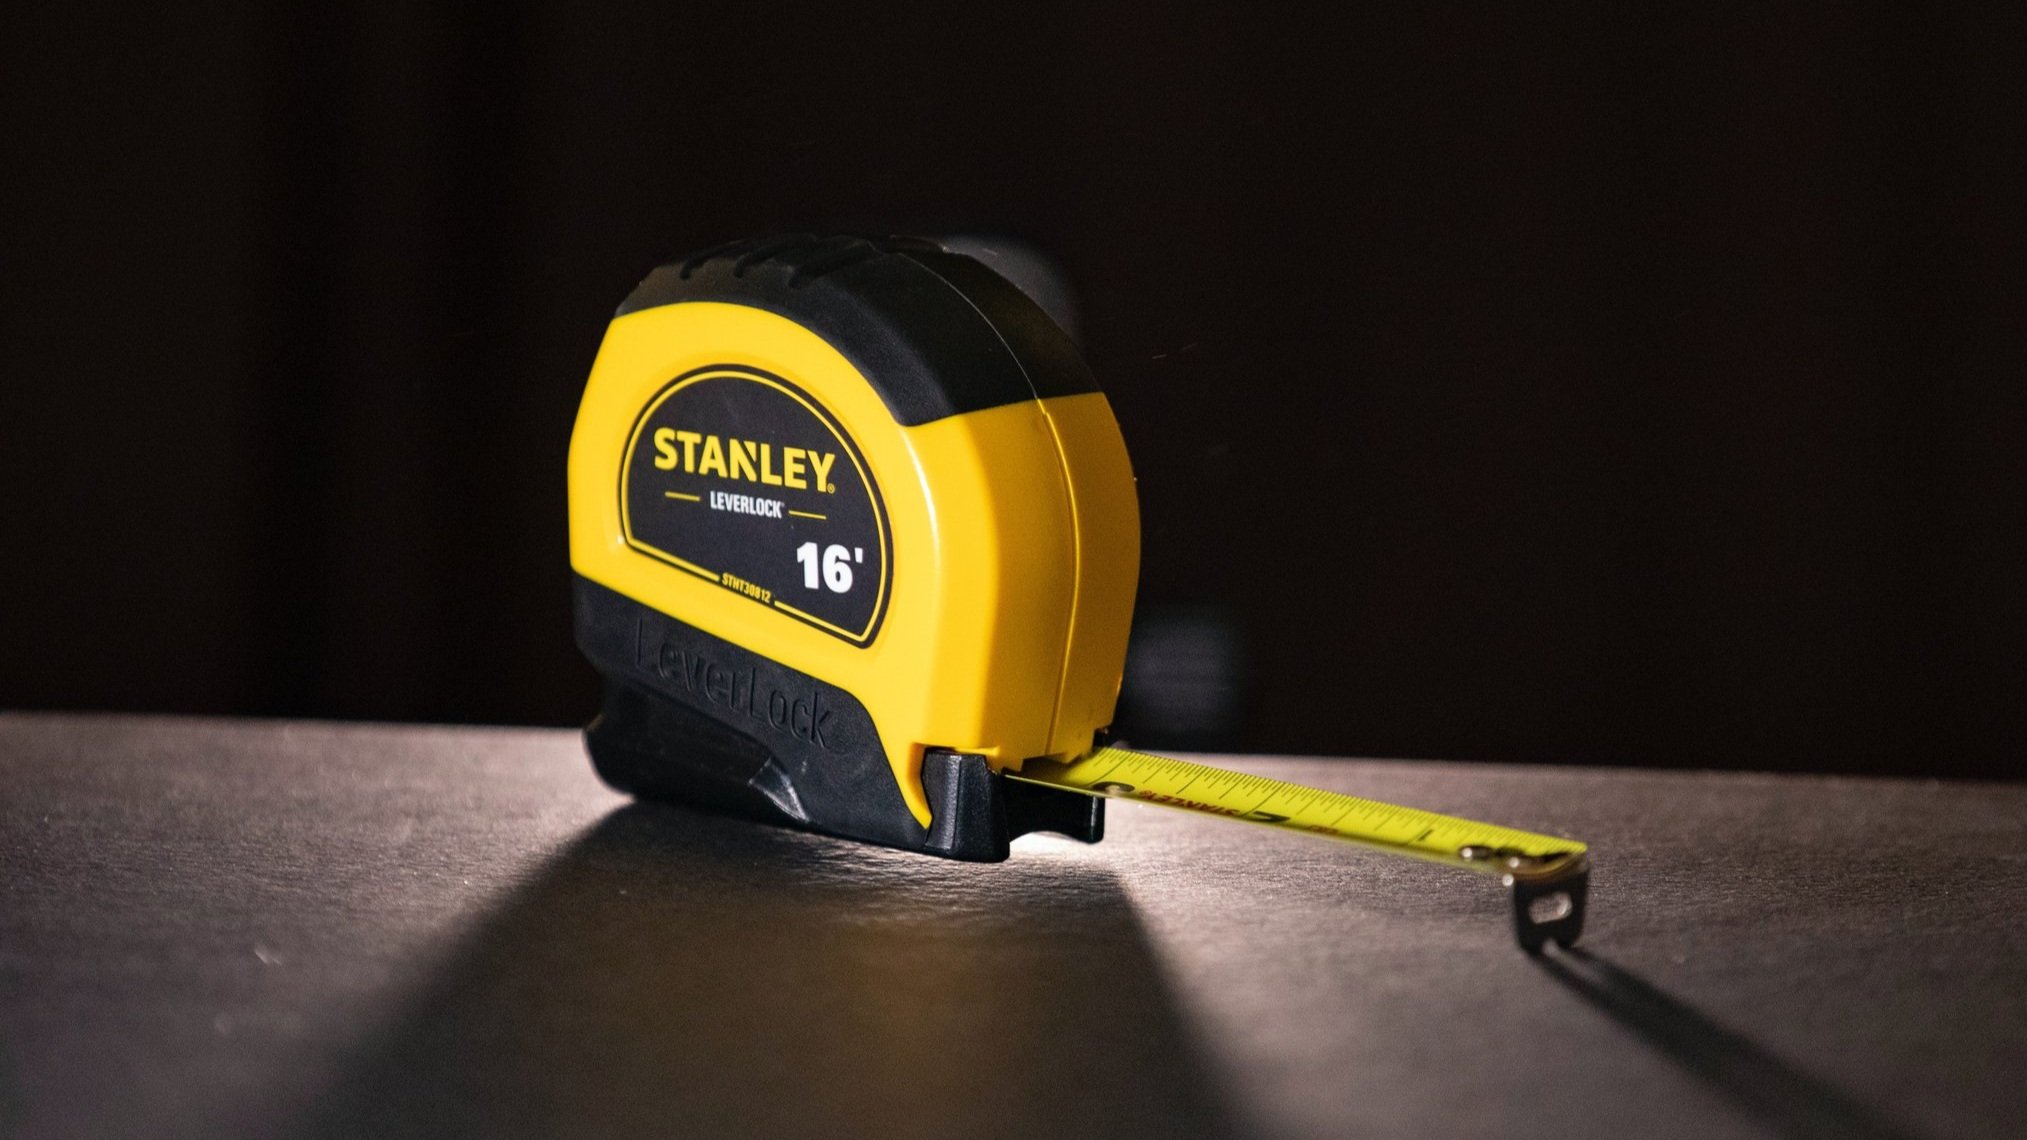
Yes, having a 25 footer in the tool bag is a nice resource but not one you need to grab every time. For everyday measurements (especially in the EGD business) a 16 footer will do just fine. It’s also a matter of what feels best in your hand. If you have small hands, it doesn’t make any sense to fight with a jumbo tape if you don’t have to.
MEASURE “TOO MUCH”
Always note more dimensions than you think you need. If you’re measuring glass panes, measure the gaskets and framing. If you’re measuring a door, measure the height/placement of the door handle and hinges. Measure other elements of obstructions nearby – extinguishers, emergency strobes, speakers, etc. It only takes a few more minutes onsite to grab these dimensions and saves a trip back to site if they come up. The final piece is to take a straight-on photo for reference to tie all of your notes together.
Bonus: Always discuss the survey needs with your installation team before heading to site. They may ask for other dimensions you hadn’t thought of. Make everyone’s job a little easier by getting the information that much earlier.
We hope you’ve found these tape measure tips helpful! Our team of site survey and installation professionals are always here to answer questions or visit your site to assist on a job. Reach out with any questions you may have, or to get a quote for your next project.